Tuesday 11 November 2014

Going around in circles ...

I am going around in circles and loving it!


The plan was to be separate clusters of circle on each section of the quilt but I have thrown that idea into the bin and am just going to keep going as I am and have a ripple effect of circles from the centre of the quilt.

I feel a little cheeky even calling this a "quilt".
There is nothing tricky here - not that I can even do the tricky stuff.
No intricate piecing.
No clever quilting techniques.
No ditch stitching.

Just 3 strips of fabric and (wonky) running stitch going around and around and around.


I love it.

I also love that in the evenings, when the kids have gone to bed, it is almost therapeutic.

Like yoga on the couch without any awkward stretching.


Have you any "Couch Yoga" activities ?

Cheers
Jenny

Thursday 16 October 2014

"Quilter's Doubt" - is it a thing?

I have a rough plan in my head - not a great start.
So I am half way through cutting fabric and may have been a bit sloppy - also not a good start.
Now I'm starting to doubt the colour choice of one of the fabrics - maybe the shade is a bit too grey.
Over analysing it - also not a good thing.
One last piece to cut out and it has taken hours.
I have been boiling and re-boiling the kettle, walking around in circles, thinking, walking away and re-thinking, measuring and re-measuring.
I am even eating the cooking chocolate!


Is quilter's doubt a thing or is it just procrastination in disguise ??

I need to just get on with it!

Monday 13 October 2014

It has been a while but it is time - Quilt No. 8


It has been a long time between quilts but number 8 is in my head.
It has been bouncing around in there for some time.
It has had some colour and design changes whilst bouncing around in there over the last couple of months but today is the day to stop bouncing and start doing.
I ventured to a lovely Perth quilt shop, calico and ivy, and as I walked down the street with my bounty I realised that my gift voucher was still in my handbag, unused - oops.
My husband may think this is just a cunning plan to go back there again ... and he maybe right.
I loved it in there.
There is something warm and lovely about being in a quilt fabric shop.
I met some lovely ladies who travelled for 5 hours to Perth and buy fabric every visit.  We laughed about our fabric stashes and all bought some more.

Here is the collection purchased for quilt number 8.
They do look a little more blue in real life.

The plan at this point (in my head, ) is a very plain, fat striped number with circular hand quilting in white.
This could change as the idea bouncing continues.
I will keep you posted ...


Sunday 5 October 2014

The real cost of relocation


It has now been almost 18 months since we moved across the country for the Mr's job.
He loves said job and the people he works with which means we have extended the contract and will be west for some time.
The kids are enjoying their new school and have met some nice kids but they all still miss their old friends.
They have all become involved in activities and sports giving them opportunities that they may never have experienced in Melbourne.

But all of this comes at a cost.
A cost that I struggle with the most.
A cost that breaks off little pieces of my heart and leaves me heavy with loneliness.
A cost that impacts differently on everyone in my house.
It is the people we leave behind.

Today a loved member of my family celebrated a little milestone with generations of family coming together to help her rejoice and tell her how wonderful she is.
But not me.
I sent messages and love technologically but couldn't get across those enormous, isolating 3420km that separate me from my extended family.
Not this time.
These beautiful people sent me photos of my aunts, uncles, cousins, brothers and sisters to make me feel like I was somehow included which shows you how beautiful they are.
I cried.
Whilst I loved the photographic connection, I didn't really feel closer to them or feel that I too, was sharing in their day.
I felt the isolation of each and every kilometre.
I felt the pain of not having them in our everyday life.
This is the real cost of relocating.

I know I am not alone as millions of people are in the same situation - many of whom are not even in the same country as their loved ones.
I know that I need to focus on the good things - both here and there.
I know that I need to be grateful for the fact that I can call/text/face time/Skype/post goodies to these people if I want to.
I know that I need to do some exercise to release some endorphins and get back on track.
I know that I need to make more of an effort to keep active and involved with people here in the west.
I know that misery helps no-one and a sad, grumpy Mum does not make for a good, happy family.
I know that we will save our pennies and all go back over east before the year is out.
I know that I need to put the "big girl-get over yourself" pants back on and just suck it up.

SO ...
I will boil the kettle, toast my wonderful Aunt with some earl grey, put on the imaginary "suck it up, grow up and be a big girl" pants and just get on with it.

Thanks for letting me vent.
I feel much better.

If you have relocated with your family how do you cope with being away from family and friends?

Enjoy your week
Jenny x

Wednesday 1 October 2014

Using Dusty Cookbook Number 5

Stand back - it is a madness explosion over here!
I have now done 2 recipes from the latest dusty cookbook.
Madness!

This time it was the chocolate coconut cake.  I think we might even do this again.
For lovers of coconut it is a winner.
Something like a super moist, chocolate cake sandwich filled with juicy coconut.


Our small people liked it and even suggested that we have it again.
That is always a good sign.
I'm thinking that this one may be worthy of the tick in the margin - the ohjoh sign of recipe greatness.

I'm now flipping through the pages for some dinner inspiration .... trying to channel my inner 1980's cook but struggling to get my head around some of the ingredients - lots of butter, cream and things in jars and tins.

How are your dusty's going?

Tuesday 16 September 2014

Dusty Cookbook No. 5

It has been a LONG time between dusty cookbooks.
Initially I said that this year I would do one each fortnight - I must have been drunk!
It is now September and my annual total of Dusty Cookbooks is a hefty 4.
Disgraceful!
But let us not dwell on the fact that I have completely fallen off the Dusty Cookbook wagon.
We shall just jump back on and introduce Dusty Cookbook Number 5!


This little baby - complete with very sticky front cover - arrived in a Christmas present from my Mum in 1989.
Inside amongst the very '80's photos, I have found only a few ticks beside a couple of recipes.  This book, I have to admit, is one that usually stays on the shelf collecting dust.

NOT TODAY!!


"Hundreds & Thousands Biscuits" are just out of the oven making my kitchen smell fabulous.
 

Just biting into one now ……..

Hmm, they are OK but you need a big glass of milk or a cup of tea to wash them down - they are a bit dry.
Not sure if they are worthy of a tick in the margin (the Ohjoh measure of recipe greatness).  
Will see what the smalls say when they arrive home from school.   
Mind you, after school they would eat the dog if he looked like a biscuit!

Have you been dusting off your cookbooks?  Have you discovered any fabulous new (yet old) recipes??

Cheers
Jenny

Wednesday 3 September 2014

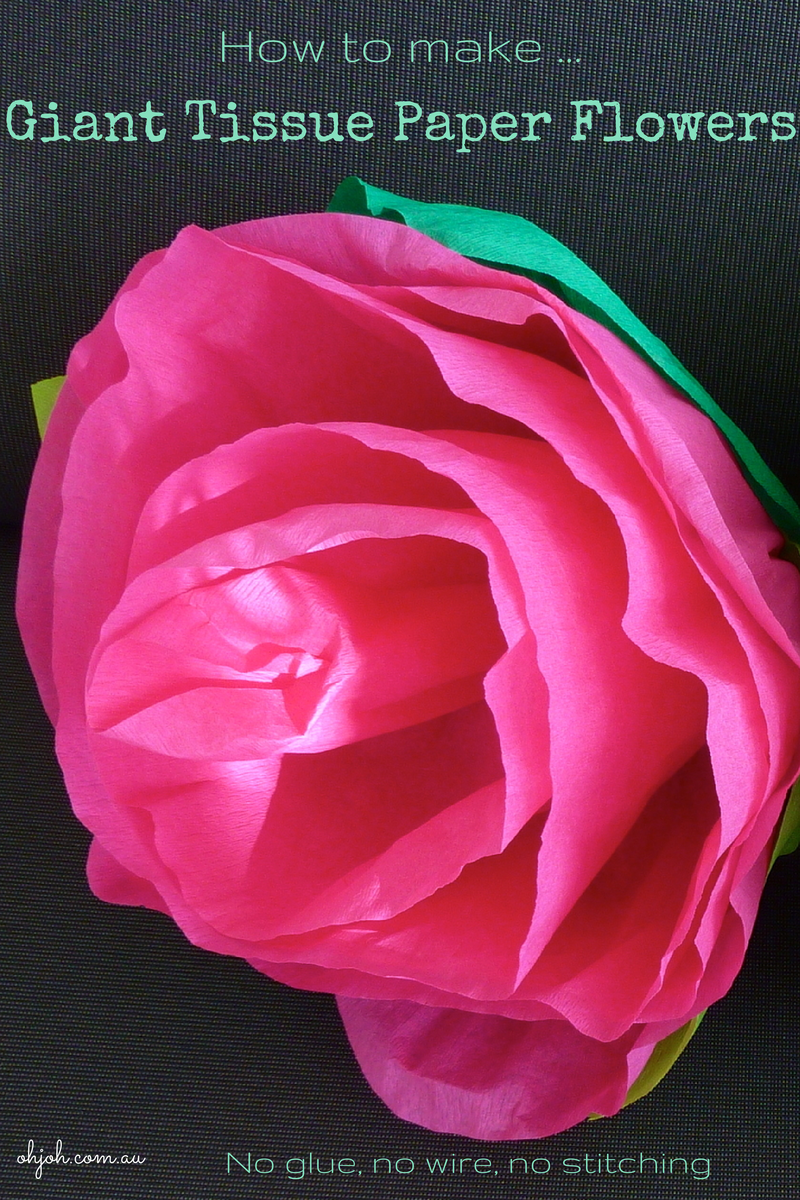
Let's Make Giant Tissue Paper Flowers


We had a little kid's garden party here recently.
I thought I would nip into Spotlight and buy a heap of fake flowers for decoration … until I saw the price.  They were lovely but at $15 per stem they were not going to fit our teeny budget.
So onto plan B.
Crepe Paper!
NO glue!
NO stitching!
NO wire!
Just pretty and perfect if you are a bit on the lazy side and fancy a quick project like me!

You will need:
3 packets of crepe paper (1 main flower colour and 2 shades of green for leaves)
scissors
1 elastic band


open out your main flower colour sheet of crepe paper

gently stretch the top half of the paper being careful not to tear it

don't worry if you do tear it - just trim it to be a smooth curve shape and keep going
it will add character to your flower


roll over the end of the crepe paper a couple of times to form a little tube

keep rolling but as you roll scrunch/pleat the crepe paper with your fingers and push it into the roll.

keep hold of the bottom

it should start to look something like this

Keep rolling and scrunching until you get close to the end of the crepe paper


As you get to the end of the roll of crepe paper, trim the corner off so it has a softer, more rounded appearance

Keep rolling until you get to the end

you can either tie an elastic band around the bottom of your flower to keep it together whist you prepare the leaves or just give it a really good squeeze - it should keep it's shape.

unroll a section of each of the green (leaf colour) crepe paper and place them on top of each other

cut out two leaf shapes (rough is fine).  The base of my leaves are around 20cm (8 inches) and I cut them half way up the roll so that I could get the other leaf from the top half

you should have 4 leaves - two of each colour

stretch the tops of the leaves as you did the main flower

Using the same technique as before, take a leaf and roll & scrunch it around the bottom of your flower

I placed the lighter leaves on the inside and the darker leaves on the outside

and positioned them so that they were spread around the flower and not directly on top of each other

when you are happy with how it looks, tie an elastic band around the base of the flower so that it holds all of the leaves and the main flower

And that is it!
So simple and really effective.


You can:
  • hang them - slide some string through the elastic band
  • bunch them together 
  • throw them on a table
  • make heaps and be surrounded by a little bit of spring regardless of the time of year!


Enjoy!

Cheers
Jenny

Saturday 30 August 2014

The Frock - an update


I finished the frock in time for the work function … almost ... just a little bit of hand stitching under the arm didn't quite get done.  I figured that the chances of anyone having their head in my armpit during the course of the evening was quite low so chose to feed my children and organise the babysitter instead.
I thought I might share some process pics with you.
This way you don't have to experience the swearing and the procrastinating that also accompanied the production of this dress.


This was the rough mock up as I was copying a dress hanging in the cupboard that sadly doesn't zip up anymore.


The bodice - with a few less pleats than the mock-up.


The satin binding was suggested by the lovely lady at Fabulous Fabrics.  
You buy it off the roll either there or at Spotlight - how did I not know about this???  
So simple and the result was great.


The invisible zip. God knows why I purchased this ?!?!?!  
I have never been able to figure them out and usually avoid them like the plague but for some reason I decided that I would give it another go.
I'm so glad I did as you tube saved the day.  
These things ARE really easy to put in if you know how.  Fancy that!!
Check out this clever chick if you want to know how ….
The invisible zip and I are now friends.  I may put them in everything.


I think the jeans and boots work quite well - don't you ??

And sadly, this tired little photo taken after we arrived home, without my shoes on, standing (well, slouching really) in a badly lit room is all I have of the finished dress.
You get the idea.
I think the dress itself may be a little long and I think the underdress could be a little shorter too.  Generally I am happy with it and one day I may even finish the hand sewing at the top of the zip.
Next project ….. maybe a quilt …. or maybe the mountains of laundry creeping down the hallway.