
We had a little kid's garden party here recently.
I thought I would nip into Spotlight and buy a heap of fake flowers for decoration … until I saw the price. They were lovely but at $15 per stem they were not going to fit our teeny budget.So onto plan B.
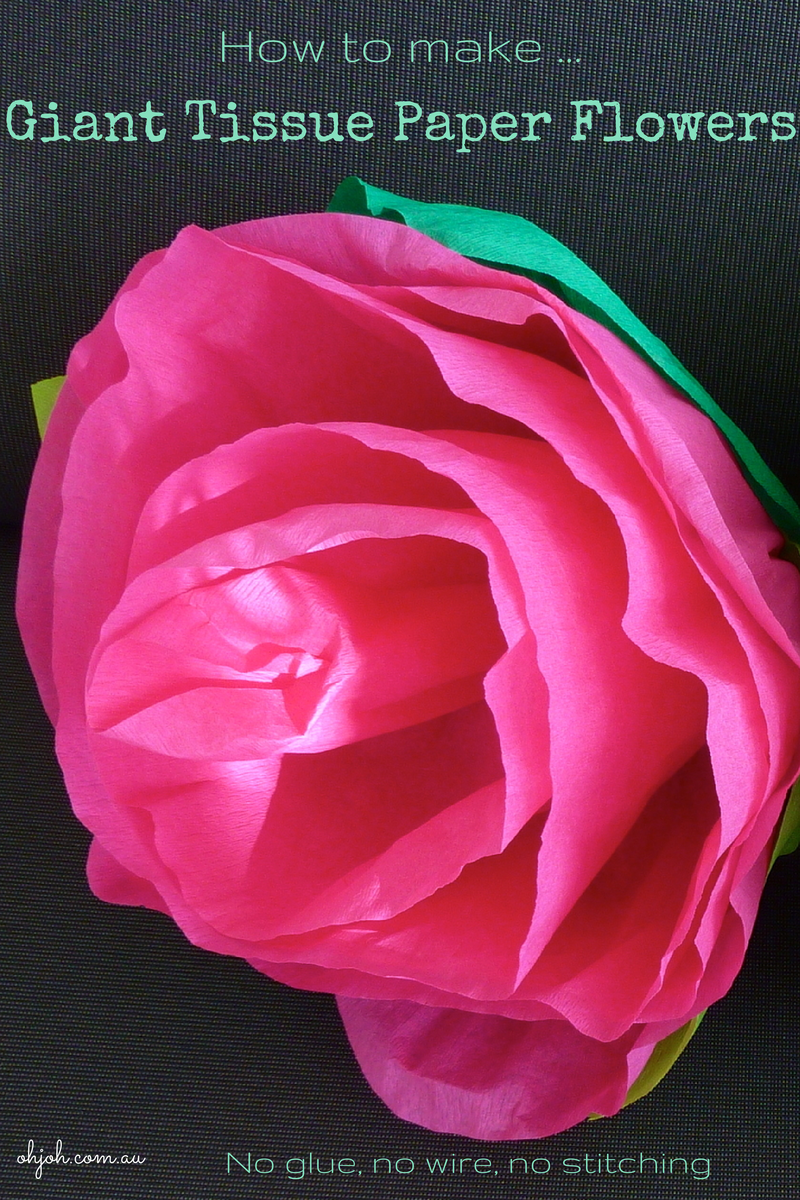
Crepe Paper!
NO glue!
NO stitching!
NO wire!
Just pretty and perfect if you are a bit on the lazy side and fancy a quick project like me!
You will need:
3 packets of crepe paper (1 main flower colour and 2 shades of green for leaves)
scissors
1 elastic band

open out your main flower colour sheet of crepe paper

gently stretch the top half of the paper being careful not to tear it

don't worry if you do tear it - just trim it to be a smooth curve shape and keep going
it will add character to your flower


roll over the end of the crepe paper a couple of times to form a little tube

keep rolling but as you roll scrunch/pleat the crepe paper with your fingers and push it into the roll.

keep hold of the bottom

it should start to look something like this

Keep rolling and scrunching until you get close to the end of the crepe paper

As you get to the end of the roll of crepe paper, trim the corner off so it has a softer, more rounded appearance

Keep rolling until you get to the end

you can either tie an elastic band around the bottom of your flower to keep it together whist you prepare the leaves or just give it a really good squeeze - it should keep it's shape.

unroll a section of each of the green (leaf colour) crepe paper and place them on top of each other

cut out two leaf shapes (rough is fine). The base of my leaves are around 20cm (8 inches) and I cut them half way up the roll so that I could get the other leaf from the top half

you should have 4 leaves - two of each colour

stretch the tops of the leaves as you did the main flower

Using the same technique as before, take a leaf and roll & scrunch it around the bottom of your flower

I placed the lighter leaves on the inside and the darker leaves on the outside

and positioned them so that they were spread around the flower and not directly on top of each other

when you are happy with how it looks, tie an elastic band around the base of the flower so that it holds all of the leaves and the main flower
And that is it!

So simple and really effective.


You can:
- hang them - slide some string through the elastic band
- bunch them together
- throw them on a table
- make heaps and be surrounded by a little bit of spring regardless of the time of year!
Enjoy!
Cheers
Jenny
Love it simple but effective.
ReplyDeleteso beautiful :) they would look so pretty hung outside for a party!
ReplyDeleteGorgeous!
ReplyDeleteBeautiful! I'll have to give this a try.
ReplyDeleteThose look lovely - and you could do tiny ones to decorate party bags with - or let little guests take one home too!
ReplyDeleteThanks Ladies xx
ReplyDeleteThey are now piled in a big pretty floral bunch on top of my daughter's bookshelf - all 12 of them.
These are fantastic - will have to try and steer the kids toward a party where we can use them!!
ReplyDelete